
How to Brine a Turkey
Let’s talk turkey. Specifically, how to brine a turkey.
It’s not nearly as scary as it sounds, and I’m going to walk you through it.

Last year, my uncle made a comment that struck fear deep in my heart: he suggested that sometime soon, my cousins and I should start hosting Thanksgiving. It’s embarrassing to admit, but even though I blog about food, I really have no desire to take over the reigns of this family tradition.
Preparing that much food for 20+ people? Ugh, not top on my list of wants, unless we can also serve these. And lots of ’em. 😉
Anyway, I decided I should give this whole brining/roasting a turkey thing a go. Get some practice in so that when my time comes, my family event doesn’t end up like the Griswold’s Christmas Vacation.
I fervently began doing research on turkey preparation, brining, and roasting, and I was a bit overwhelmed at first. But when I stepped back, broke it down, and took it step-by-step, it wasn’t nearly as scary as I thought it might be. In fact, this bird turned out amazing, even on my first try.
So here’s my message to any of you who are cooking your first Thanksgiving turkey this year: if I can do it, you can, too.

I am by no means an expert here, so feel free to weigh-in with your turkey brining tips and tricks. I just want to share with you what I learned, and why I think brining is the way to go.
What is brining, anyway?
Brining involves soaking a turkey in a saltwater solution before cooking, which protects it from the ravages of heat and guarantees tender, flavorful meat from the surface all the way to the bone. In other words, the brining liquid distributes moisture and seasoning into the meat, helps the meat retain more of its total weight after cooking, and makes for a moister and more flavorful meal.
Who wants dry, bland turkey, right?
Make sure you do not use a self-basting or kosher turkey, otherwise your turkey will end up too salty. After defrosting your bird, remove the giblets and the neck from the inside. Rinse both the inside and the outside of the bird, and pat dry with paper towels before placing it in the brining liquid.
What do I need for brining?
Not much – just a container large enough to hold your turkey and all of the brining liquid. Much of my research suggested using a 5-gallon bucket with a lid, but that wasn’t about to fit in my refrigerator. I also read that extra-EXTRA-large Ziploc bags would work fine, as would turkey size oven bags. I went the Ziploc bag route since that’s what I found first. 😉
Since I was worried the bag could leak a bit, I placed the bagged turkey onto a rimmed sheet to catch any potential drippings.
What do I put in my brine?
The general rule of thumb is one cup of salt per two gallons of water. From there, you may also add sugar, vinegar, spices, and other aromatics. In mine, I used a combination of salt, brown sugar, peppercorns, orange peel, fresh thyme and sage, and Worchestershire sauce. I’ll provide my measurements below, but I don’t think there are any hard and fast rules on your aromatics here – use what you like and what you have in your kitchen.

Okay, I have my turkey in the brine. Now what?
Make sure it’s covered and refrigerated (or in a very cool spot – 40 degrees or less) for at least 6 to 12 hours. I turned mine over halfway through to make sure both sides had equal time to marinate.
After removing the turkey from the brine, rinse it, and then pat it dry to prevent soggy skin. You may also place the turkey on a wire rack in the refrigerator set on a baking sheet and allow it to dry overnight. Again, this encourages the skin to crisp during roasting.

How do I roast my turkey?
Preheat oven to 275 degrees and place turkey in a roasting pan. Cover with foil and bake, approximately 10 minutes per each pound.
Then, raise the oven temperature to 350 degrees and remove foil. Brush the turkey with melted butter every 30 minutes, until the internal temperature reaches 165 to 170 degrees.
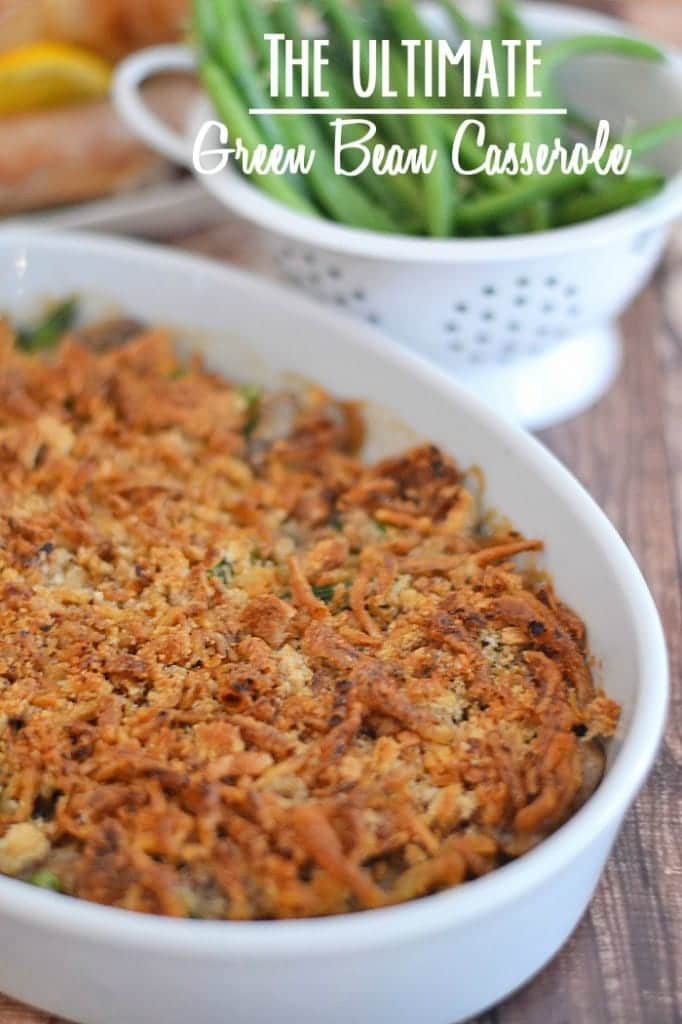
Remove the turkey from the oven and let cool slightly before slicing – avoid the urge to cover the turkey with foil, since this can make the skin soggy. Next? Call someone else in to carve it, while you go relax with one of these.
- 2 gallons warm water
- 1 cup kosher salt
- 1½ cups light brown sugar
- 2 tablespoons black peppercorns
- 5-6 cloves smashed garlic
- 2 tablespoons Worcestershire sauce
- peel of one orange
- 1-2 sprigs each fresh thyme and sage
- In a large bucket or container, mix salt and brown sugar into the warm water until no granules remain. Add in remaining ingredients, and allow mixture to cool to room temperature or refrigerate until cool.
- Remove the giblets and the neck from the inside of the turkey and reserve for later use, if desired. Wash the turkey inside and out with cold water and then place it in the bucket or brining bag. Cover with the brining liquid and then place in a cold place for at least 6 to 12 hours, turning once halfway through the brining process.
- After removing the turkey from the brine, rinse it, and then pat it dry to prevent soggy skin. You may also place the turkey on a wire rack in the refrigerator set on a baking sheet and allow it to dry overnight.
- Preheat oven to 275 degrees and place turkey in a roasting pan. Cover with foil and bake, approximately 10 minutes per each pound.
- Raise the oven temperature to 350 degrees and remove foil. Brush the turkey with melted butter every 30 minutes, until the internal temperature reaches 165 to 170 degrees.
If you have turkey tips, leave ’em in the comments below!
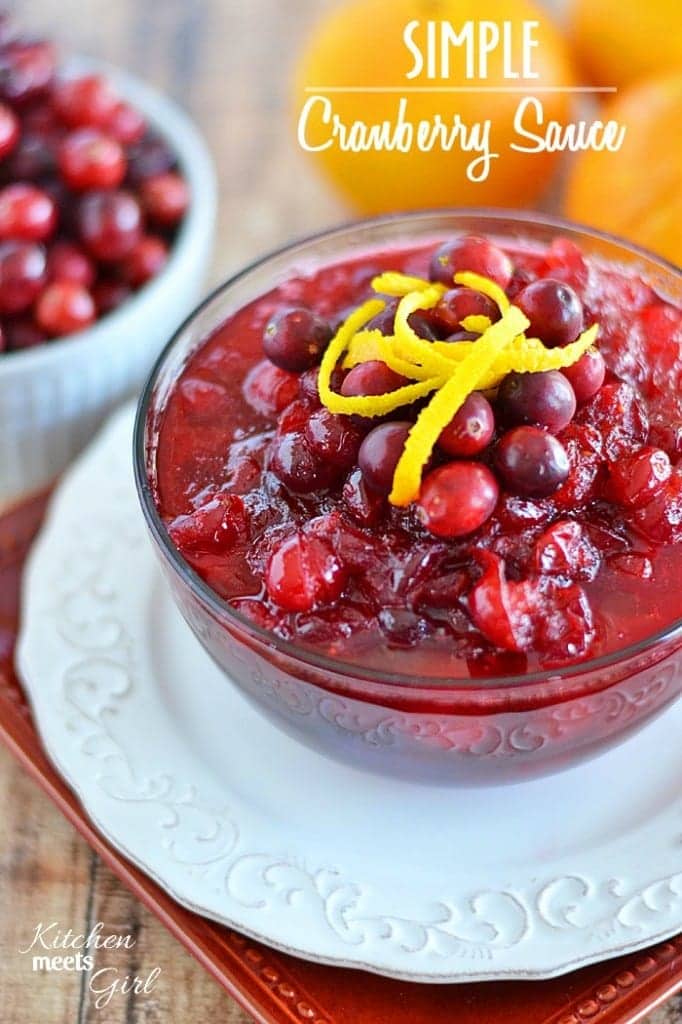
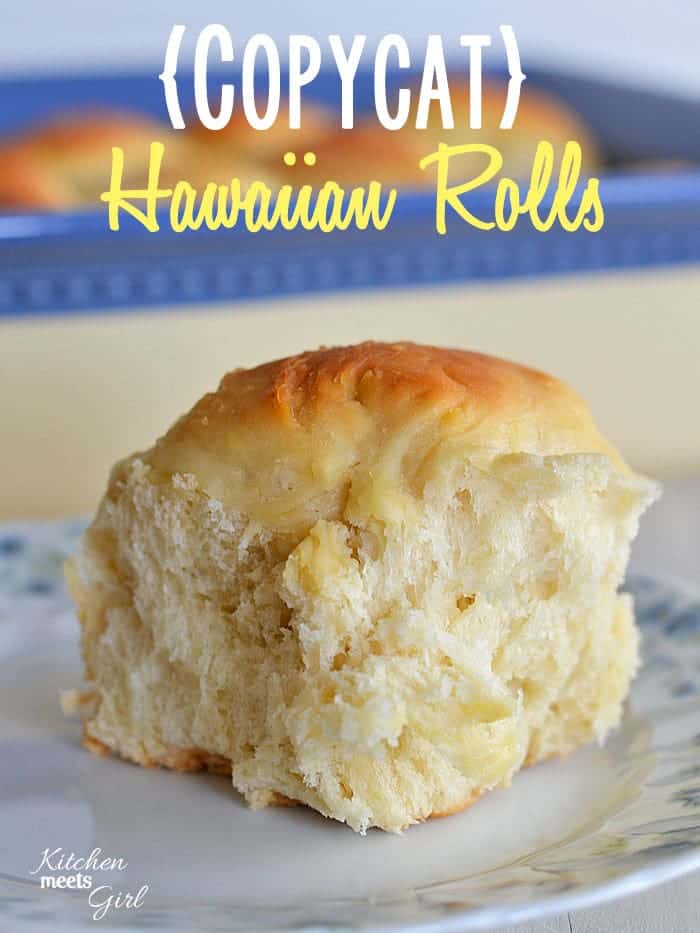
Looking for some other dishes to serve along-side your perfectly brined turkey?
Try these:


10 Comments
Leave a Reply to Bj Cancel reply
10 EASY SLOW COOKER MEALS RECIPE BOOK

Hello There!
Interestingly enough, I didn’t grow up with an interest in cooking. In fact, I informed my mother on multiple occasions that I was not getting an advanced education so I could spend my evenings preparing meals.

Grab My Cookbook!
The turkey looks amazing!!! Thanks for laying out the steps in detail. It has always sounded so complicated to brine a turkey to me, but you’ve made it look much more easy than what I thought. Thanks for the awesome post!
Thanks, Jodi! I was always overwhelmed at the idea of brining…but it turned out to be not so hard after all! 😉
This is fabulous!!!!
Dorothy @ Crazy for Crust recently posted..Mini Crumb Apple Pies
Thanks, Dorothy!
I have a 14 pounder… Would this be too much brine? Should I scale it down?
Marci – it will work just fine to use the amount of brine as shown. I actually used a 13-pound turkey in these photos, and the brining bag I used was a little small, so I did scale down my liquid, salt and sugar by about three-quarters. The rest of the ingredients I used in the same quantities shown. Good luck!
So many great tips Ashley! We brine our turkey every year and it makes SUCH a difference!
I use a sturdy plastic garbage bag for brining. I use our ice chest as well. I put the bagged turkey in the ice chest, add the brine to the turkey. Close up the bag. Put ice on top of the turkey. I have been doing this for years. Less mess and the ice chest can be on the patio, garage… Anywhere cold.
This was absolutely delish. I was a bit apprehensive to try this I will admit because I was worried about the turkey drying out after removing aluminum foil. But my god turned out moist and amazing. This is definitely a keeper!
I’ve been using a slow cook method for my turkey for over 25 years now, and I have a perfect turkey – WITHOUT FAIL – every single year. The breast drips juice when you’re slicing it. And it tastes incredible. I’d be happy to share my recipe with you, if you’d like to give it a try.